Check out Part I of our Repair Spotlight on Byron Berline’s Herringbone D-28 before diving into Part II below.
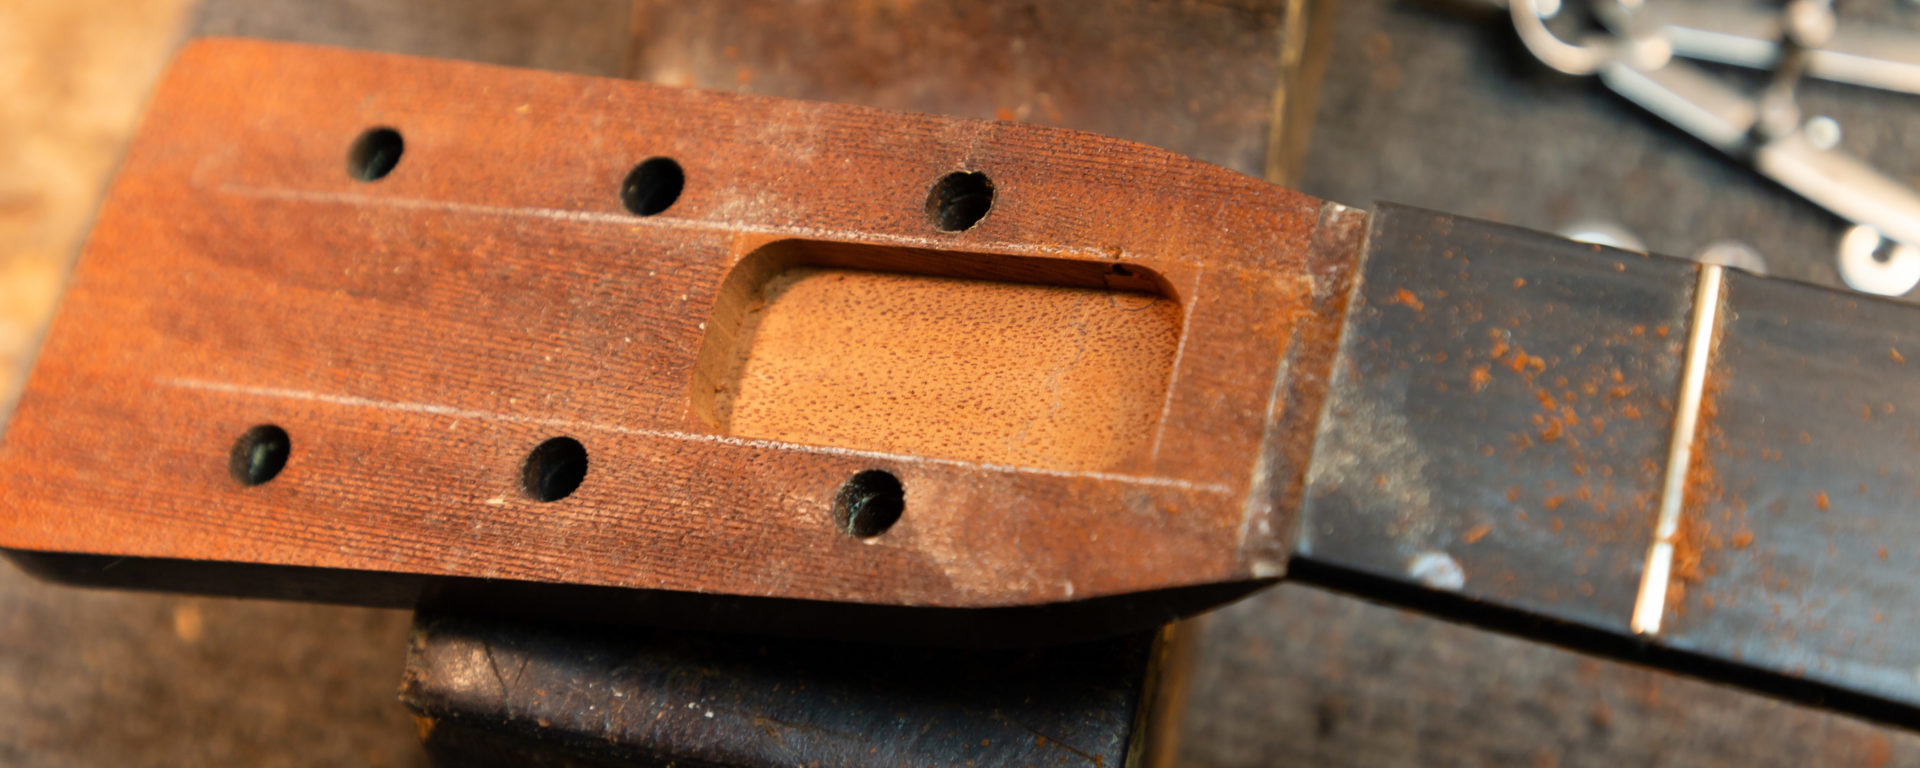
When we left off with the repair of our friend Byron Berline’s herringbone D-28 Jim had come up with a plan for removing the veneer and cleaning up the headstock break. This was necessary in order to make a good surface for gluing things up, and having it hold. Now that glue has dried and things are stable it’s time to move on to stage two, routing and installing a spline to strengthen the break so it holds up under string tension.
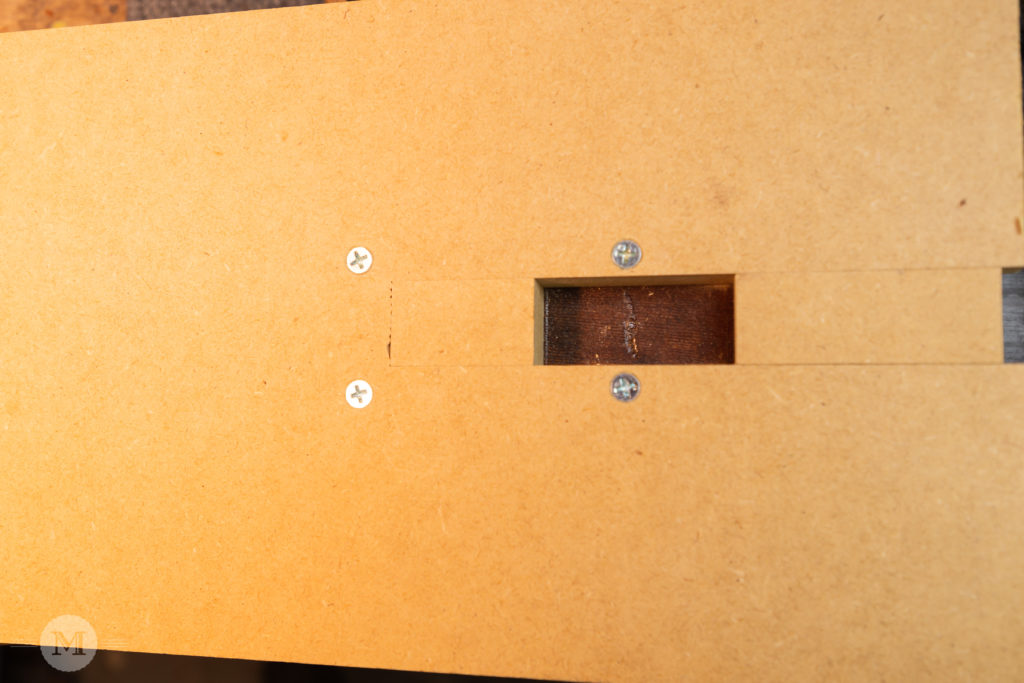
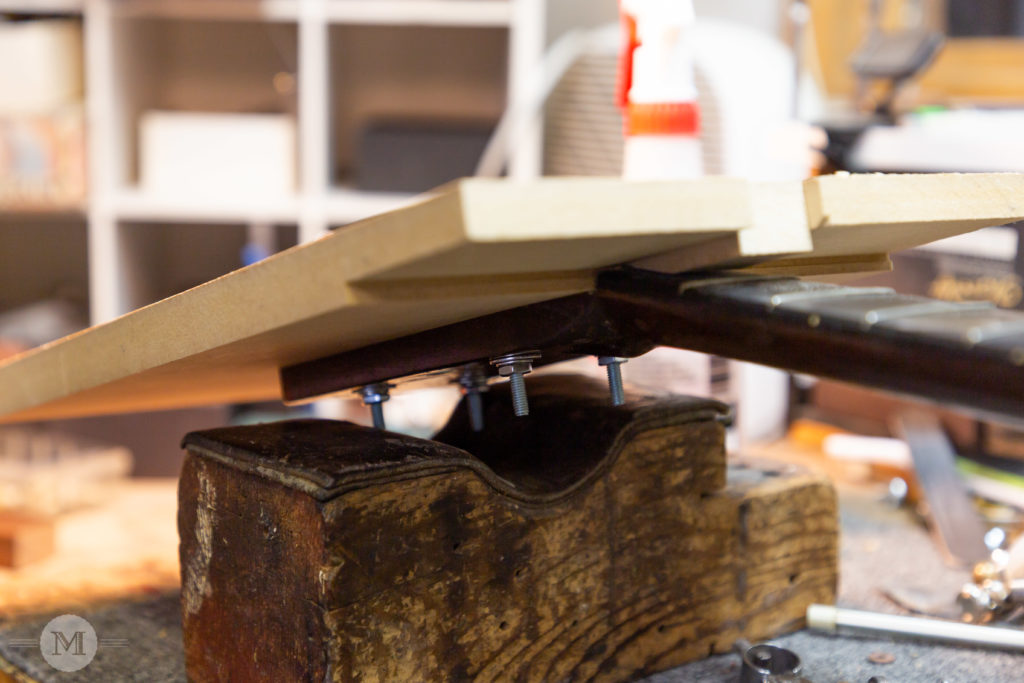
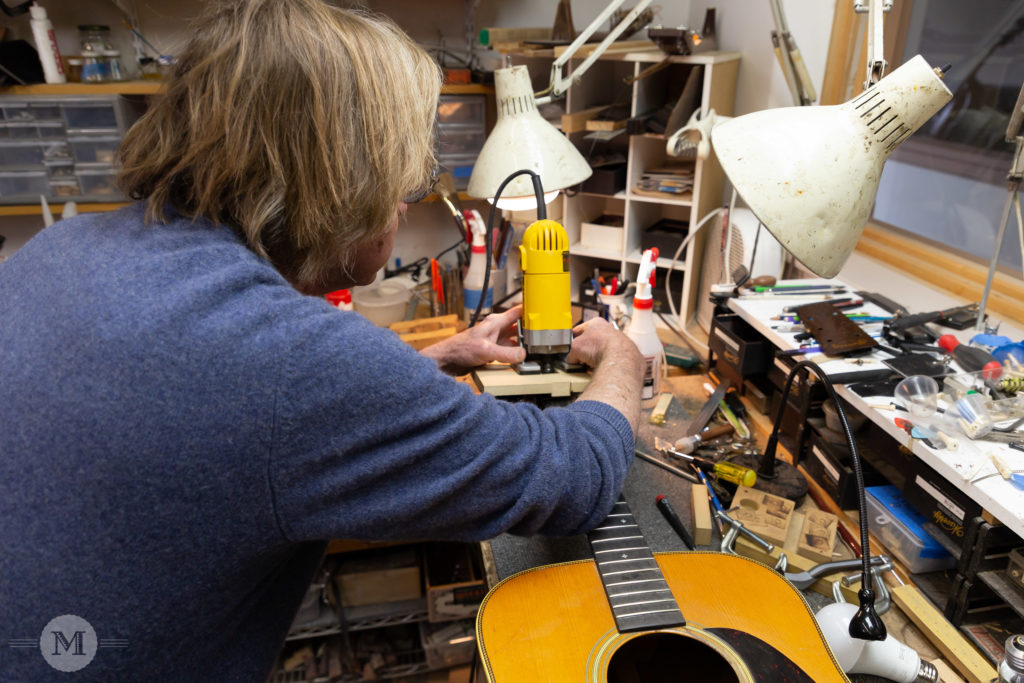
This process involved a custom router jig that indexes off the guitar’s tuner post holes. This simple jig was cut on the table saw out of some scrape MDF and is custom made for use with the shop palm router. The router has a guide bit installed in order to follow the opening in the jig, allowing Jim to cleanly route out a section of the headstock.
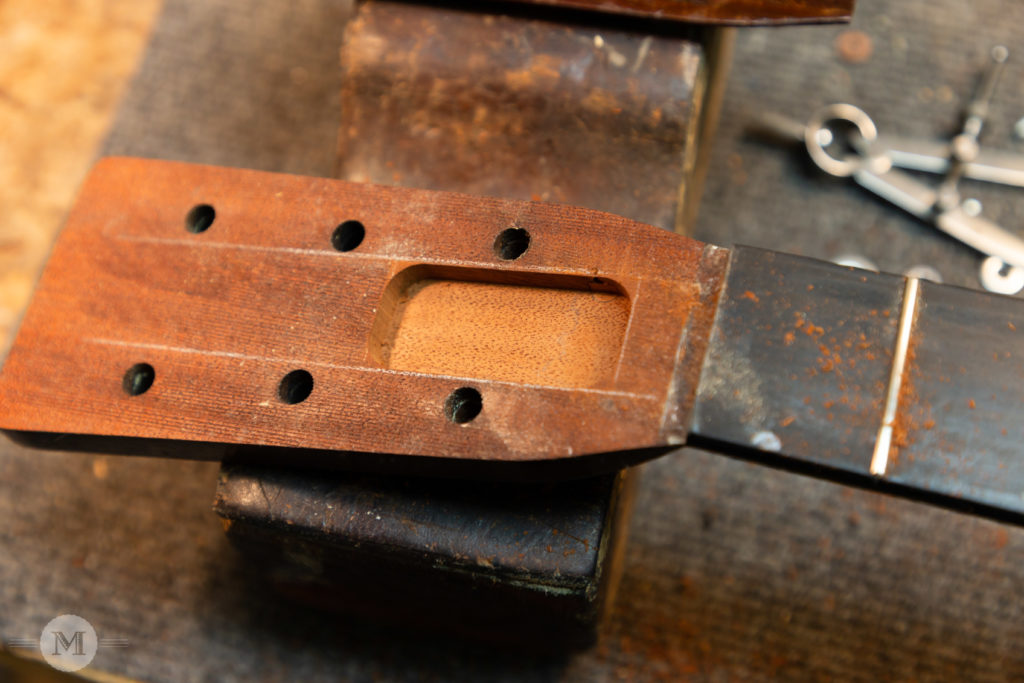
After the headstock was routed a custom made mahogany patch was milled up and inserted to strengthen the weak spot in the headstock. Once that was clamped, and the glue dried, Jim came back with a plane and removed the excess material so that it sat flush with the rest of the headstock.
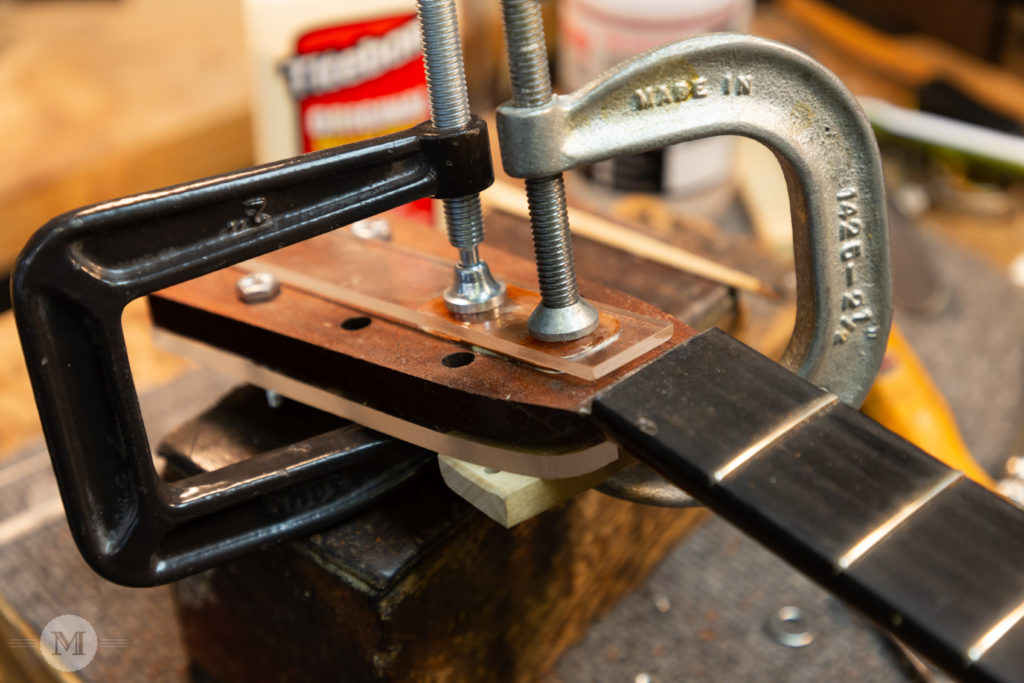
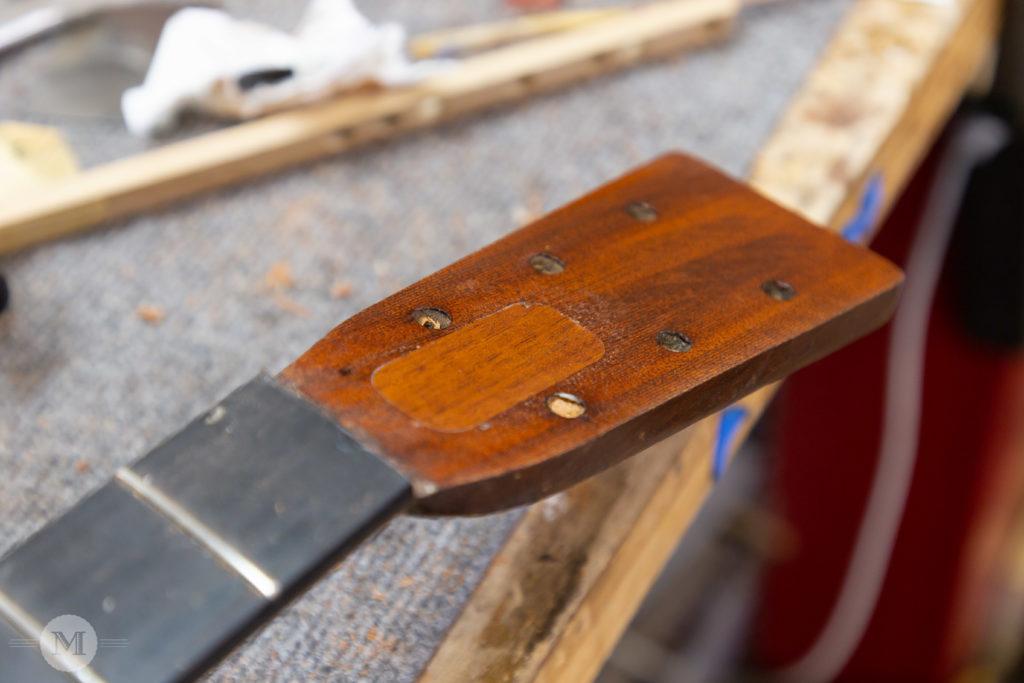
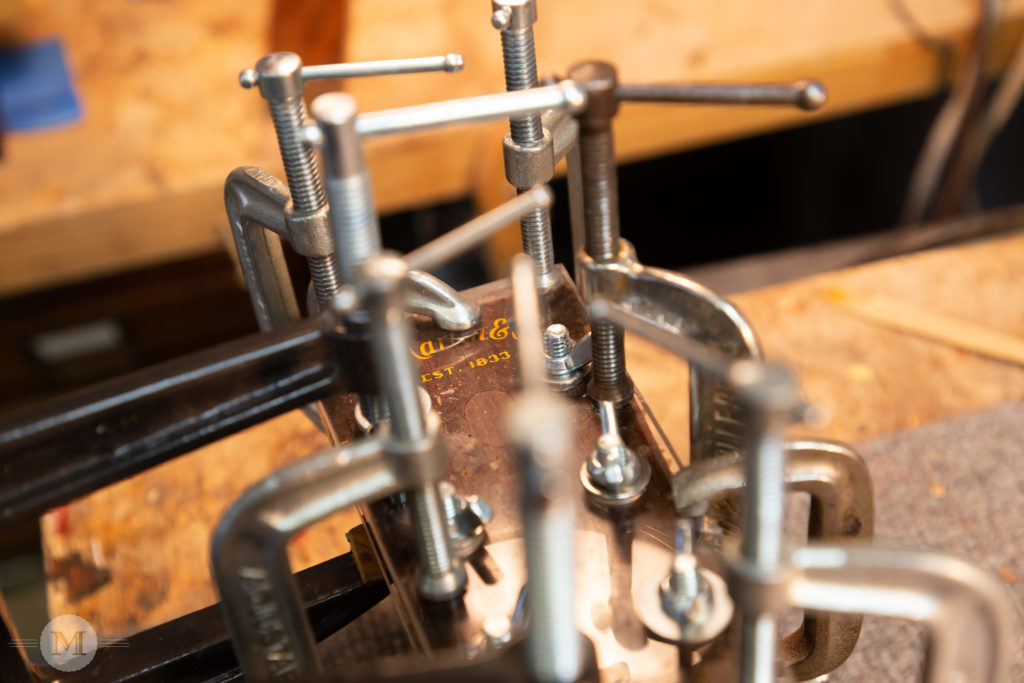
Using another custom jig, Jim moved forward with reapplying and gluing the headstock veneer. Once again he used the tuner post holes to index the jig and clamp it place. Additional C-clamps were used in order to evenly distrubute the pressure, making for the best glue up possible.

Next up was reinstalling the tuners and letting the guitar sit under string tension for a few days to make sure everything holds. After it passes the string tension test the next repair will focus on the fingerboard. The heat from the Double Stop Fret Shop fire caused the hide glue, which keeps the fingerboard in place, to basically boil and loosen up. Jim’s planning to remove the fingerboard and replace it with an era appropriate one as the current fingerboard has some non-original inlay work. This step will make use of our PLEK machine for putting a radius on the fingerboard and dressing the new frets. We’ll have more about that in Part III of this Repair Spotlight. Read on to Part III here.


Amazing work. Are you going to keep working? We have an abused Collongs that got thunkex on a coffee table we can send your way.
Absolutely! We’re open for business. Our showroom is closed but we’re doing pickups and drop offs out in front of the store, and our web store is open and shipping daily. Give us a call at 785-843-3535 and we’ll see what we can do to get that Collings playing again.