Check out Part I and Part II of our Repair Spotlight on Byron Berline’s Martin Herringbone D-28 before diving into Part III below.
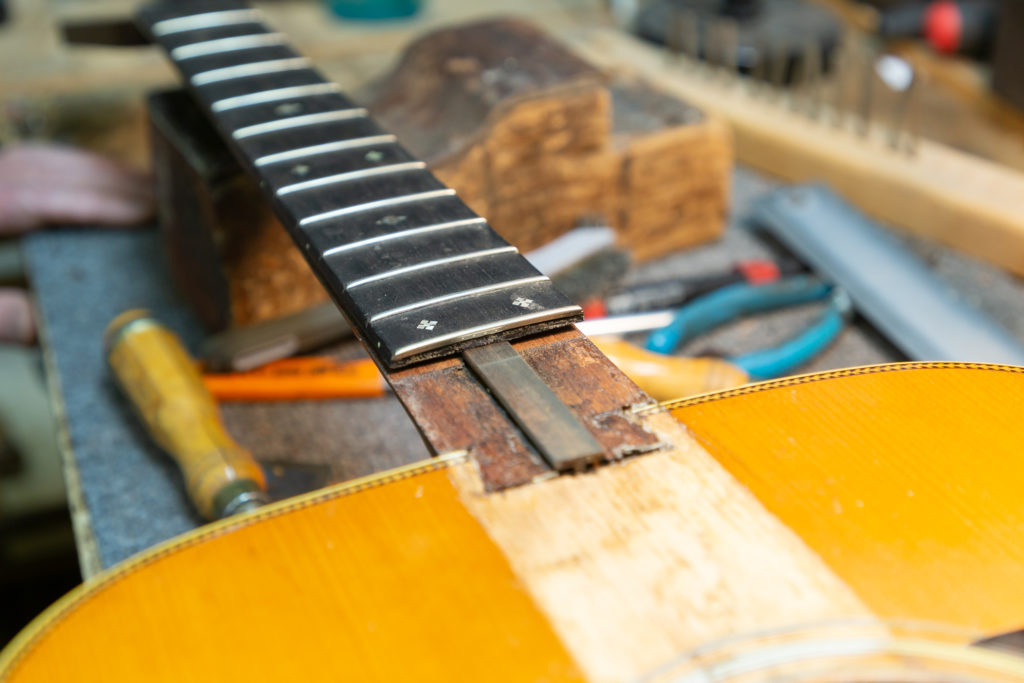
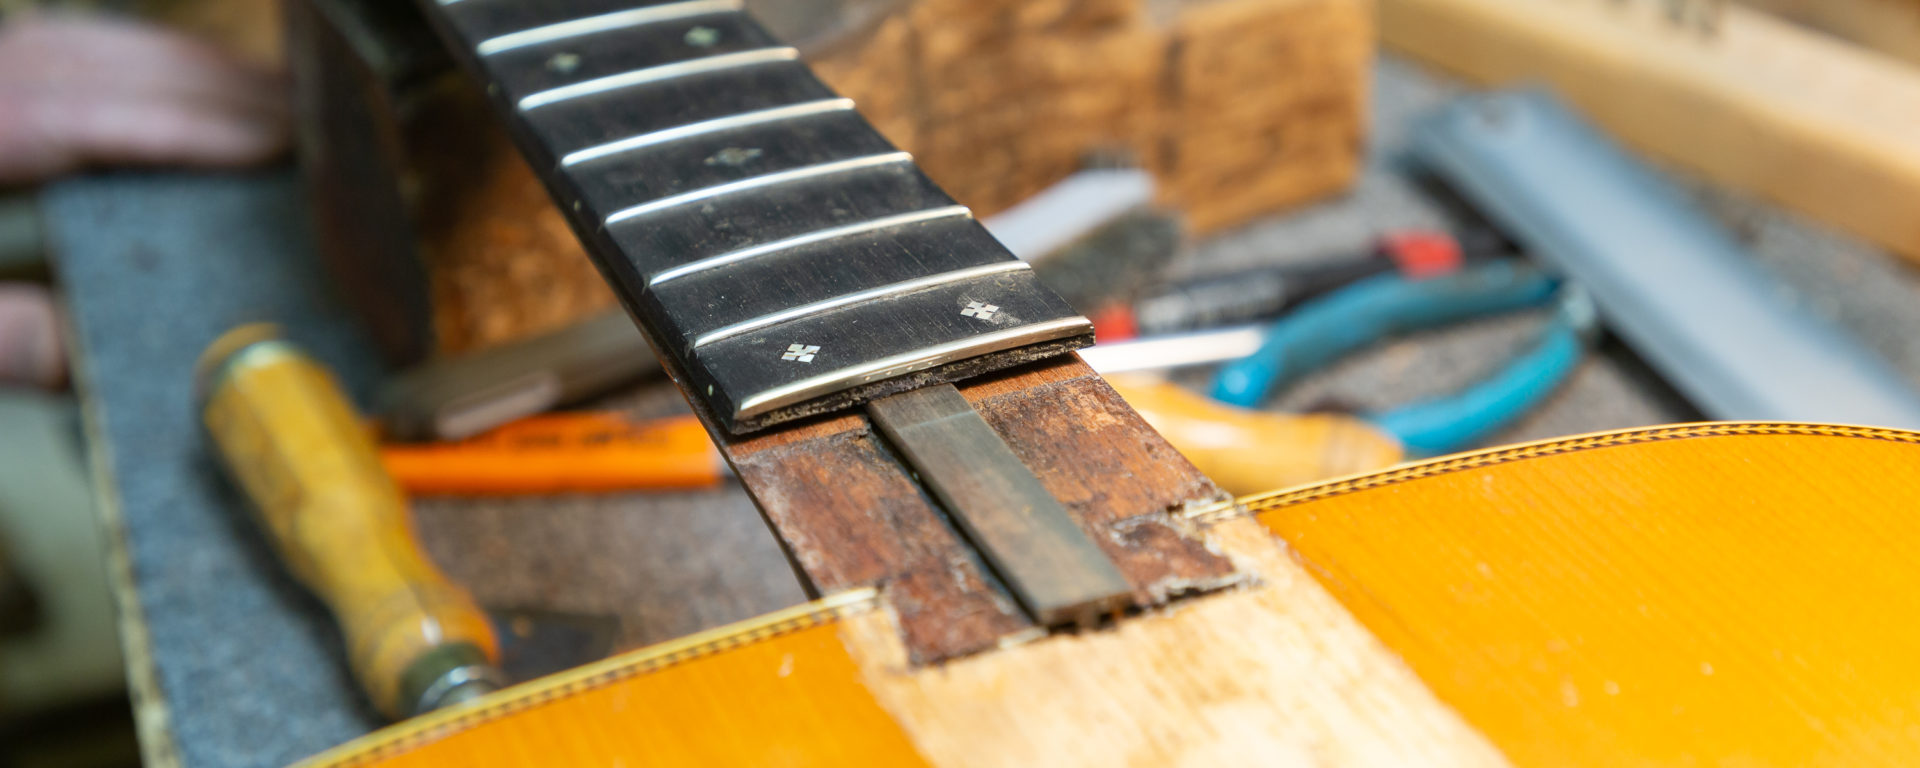
With the headstock break repaired in Part II it was time to move on replacing the fingerboard and preparing it for a PLEK refret. The heat from the Double Stop Fret Shop fire caused the hide glue, which keeps the fingerboard in place, to basically boil and loosen up. That, combined with the fact that the pervious fingerboard had some non-original inlay work done pushed Jim in the direction to replace the fingerboard and restore the inlay to it’s original look.
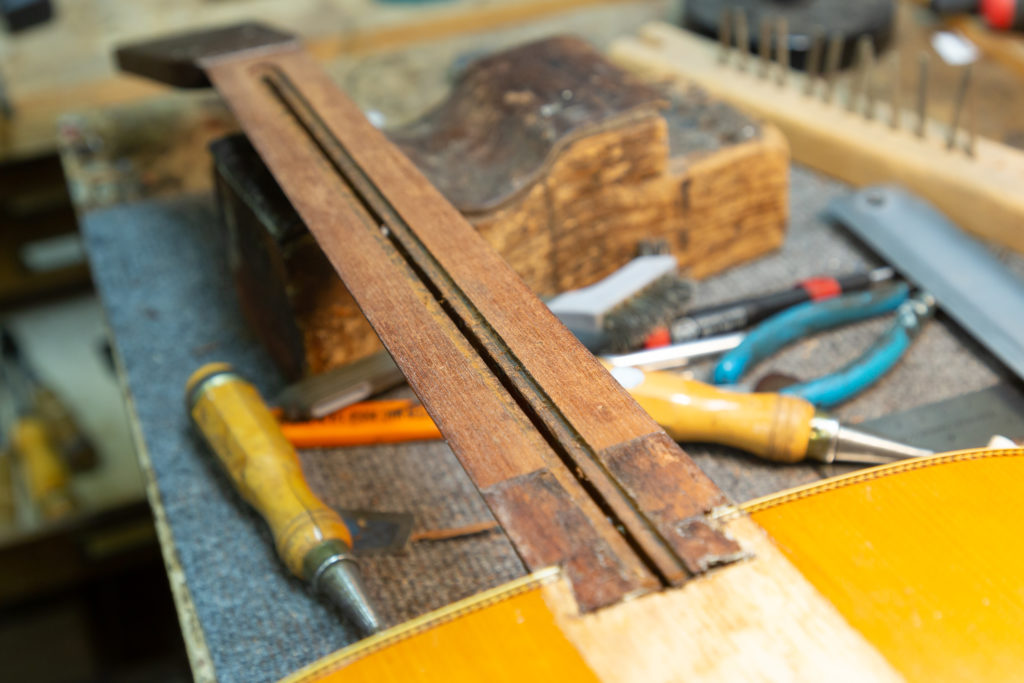
After removing the original fingerboard the old hide glue was cleaned from the t-bar slot, and it was prepped for having the t-bar glued and reinstalled. This of course was done with hide glue, which is how the guitar was originally constructed all those decades ago.
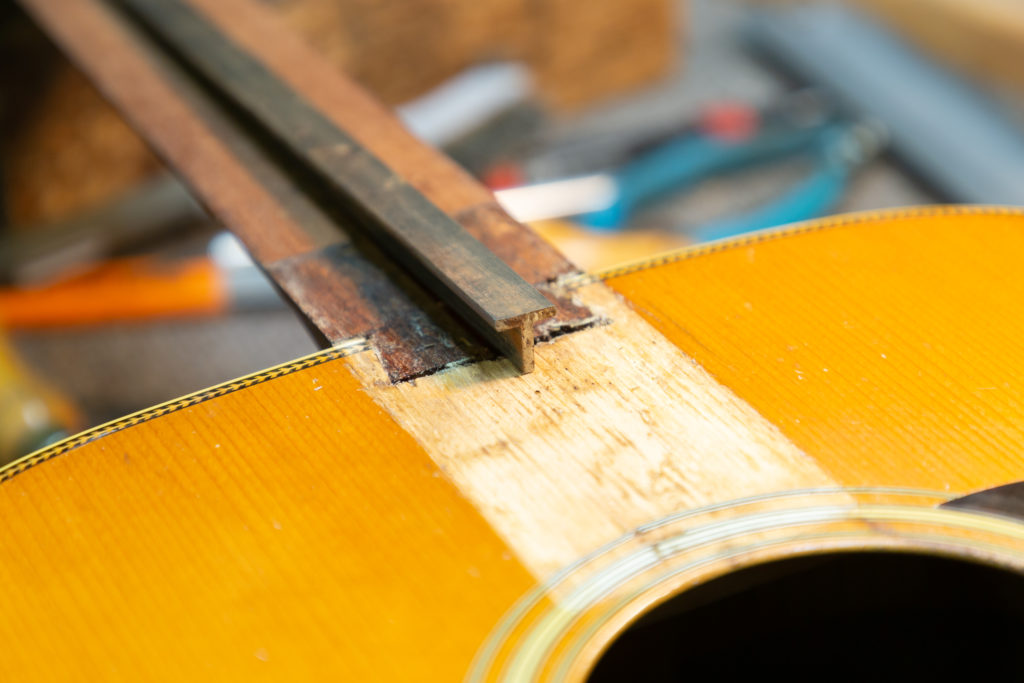
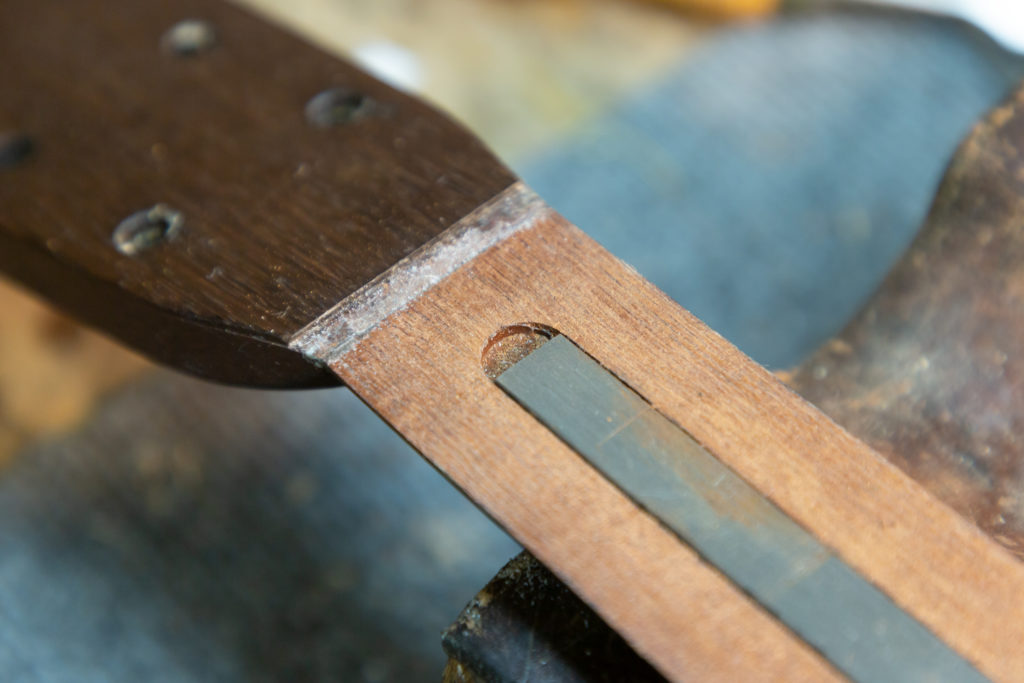
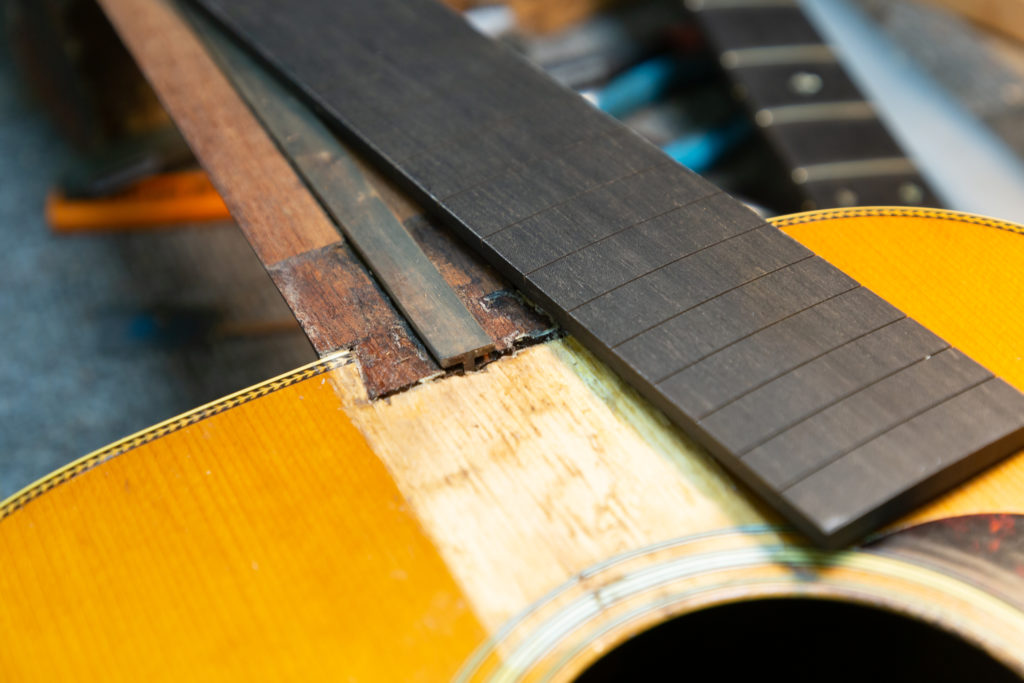
Next up was choosing a piece of Ebony that had the right characteristics to compliment this vintage Martin. Once Jim had the right fingerboard he made a relief route down the middle of the back of the fingerboard in order to receive the t-bar and have the fingerboard make solid contact with the neck surface.

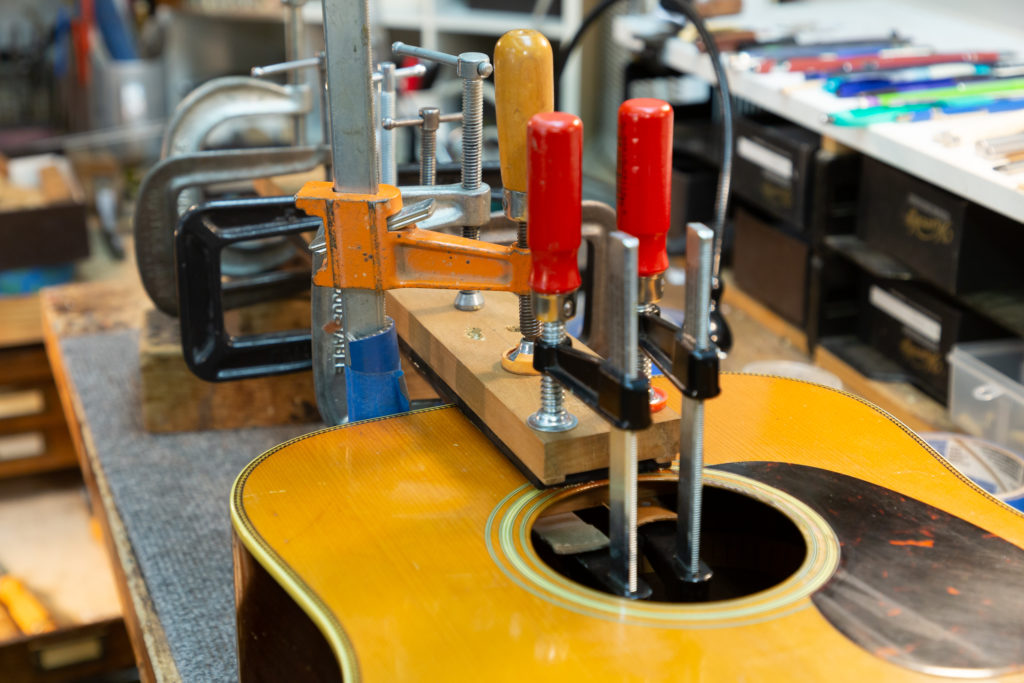
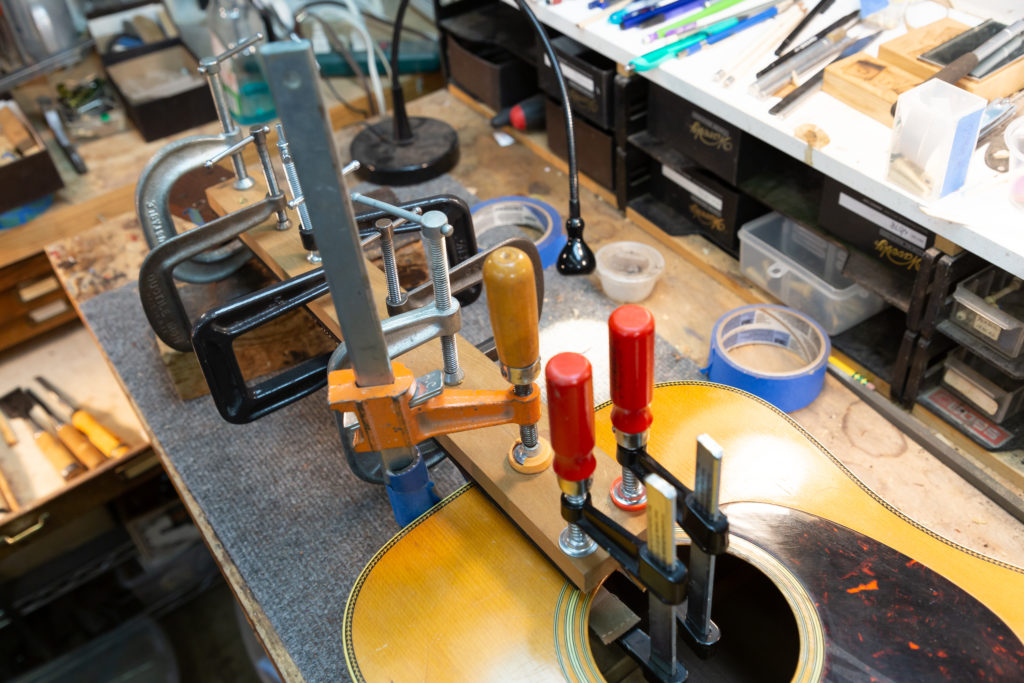
The replacement fingreboard was then glued up, with hide glue, and the guitar was clamped and prepped for the next stage – having the fingerboard planned to the proper radius and thickness on the PLEK machine in our repair shop. Stay tuned for part IV.
Such a cool project, and Jim’s work is off the scale. This is my first look at a T Bar under the fretboard. Old school neck reinforcement. Thanks for posting the pics and photo documenting this job, it’s both interesting and impressive.
Thanks Jeff, glad you’re enjoying it. We were taking more photos just yesterday for part IV!